
Plants
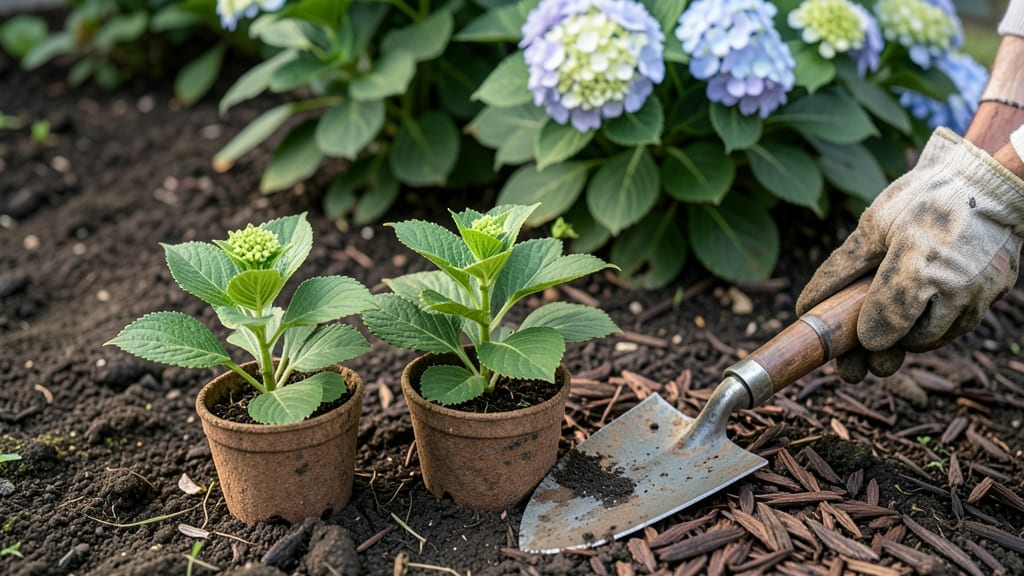
Planting hydrangeas in Zone 7 at the right time ensures strong root growth and stunning blooms 🌸 — aim for early spring or early fall, when soil temperatures are cool but no frost is forecast.
Struggling to decide when to plant hydrangeas in Zone 7? Timing is everything—plant too early, and cold snaps can stunt growth; too late, and your blooms may suffer. Here’s the science-backed guide to maximizing root development and vibrant flowers.
Zone 7’s mild winters and warm summers create a tricky balance. Spring planting between March and May gives roots time to establish before summer heat, while fall planting in September or October avoids late-season stress. Both windows work, but preparation makes all the difference.
Below, I’ll break down the best soil conditions, how to choose between bare-root or potted plants, and the critical 4-week window before your last frost date. Whether you’re a first-time gardener or a seasoned pro, these tips will help your hydrangeas thrive.
Optimal planting windows for hydrangeas in Zone 7 by variety type
Hydrangeas thrive in Zone 7 when planted during their ideal soil temperature windows. Each variety—bigleaf, panicle, and oakleaf—has unique timing needs to establish strong roots before summer heat or winter dormancy.
For most Zone 7 gardeners, the best planting months are March through May or September through November, but soil temperature and frost dates dictate the exact window.
Spring planting gives hydrangeas 6-8 weeks of warm soil before summer, while fall planting allows roots to settle before winter. In Zone 7, where last frost typically occurs around April 15, timing matters to avoid cold damage.
Let’s break down the perfect windows for each type to ensure vibrant blooms next season.
For bigleaf hydrangeas, like the popular 'Endless Summer', aim for planting when soil temperatures hit 50–60°F (10–15°C). This typically aligns with early April to May in most of Zone 7, giving roots time to establish before summer’s peak.
If you miss spring, September to early October works—just ensure the soil stays above 50°F for root growth.
Panicle hydrangeas, such as 'Limelight', are more forgiving with a slightly wider window. They tolerate cooler soil (45–55°F or 7–13°C), making late March to April or October to November ideal.
Their faster root establishment (4–6 weeks) means they can handle late spring or early fall planting without stress.
Oakleaf hydrangeas, like 'Snow Queen', prefer warmer soil (55–65°F or 13–18°C) and thrive when planted in April–May or September–October. Their slower establishment (8–10 weeks) means avoiding late fall planting, as roots need time to harden off before winter.
In Zone 7’s southern regions, you might push planting to early November, but northern areas should stop by mid-October.
Regardless of variety, always check for frost-free forecasts and soil conditions. Use a soil thermometer to confirm temperatures meet the thresholds above. Container-grown hydrangeas can be planted slightly later than bare-root varieties, as their roots are already established in pots.
Pro tip: In Zone 7, fall planting often yields stronger first-year blooms because cooler temperatures reduce transplant shock. Just avoid planting when nighttime temps dip below 40°F (4°C)—this can stunt root growth. Mulch heavily after planting to insulate roots and retain moisture.
Remember, hydrangeas planted in spring will bloom in their first year, while fall-planted shrubs may wait until the following season. Choose your timing based on whether you prioritize immediate color or long-term establishment.
For Zone 7 gardeners, the key is balancing soil warmth, frost dates, and your hydrangea’s variety. With the right timing, you’ll enjoy lush foliage and stunning blooms for years to come. Happy planting! 🌸
How to prepare Zone 7 soil for hydrangea planting success
Hydrangeas thrive when their roots nestle in rich, acidic soil with proper drainage. In Zone 7, where summers can be hot and winters mild, soil prep is key to preventing root rot and ensuring vibrant blooms.
The right balance of organic matter, pH levels, and moisture retention sets the stage for success. Let’s break down the essential steps to create the perfect hydrangea haven.
Before planting, test your soil’s pH level—hydrangeas prefer acidic soil (pH 5.2–6.0) for those coveted blue blooms. If your soil is alkaline, amend it with sulfur or peat moss to lower the pH gradually. Bigleaf hydrangeas are especially sensitive to pH changes, so aim for consistency.
For pink blooms, slightly higher pH (6.0–7.0) works, but blue varieties demand acidity.
Test Soil pH
Use a digital pH meter or soil test kit to check levels. Aim for 5.2–6.0 for blue blooms.Add Organic Matter
Mix in 3–4 inches of compost or aged manure to improve drainage and fertility.Improve Drainage
Amend clay soil with perlite or sand (50/50 ratio) to prevent waterlogging.Mulch Generously
Apply 3-inch layer of mulch (pine bark or shredded leaves) to retain moisture and regulate temperature.Loosen Soil
Dig a hole twice as wide as the root ball to encourage root spread.
Drainage is non-negotiable for hydrangeas. If your soil is heavy clay, mix in sand or perlite to create air pockets. Waterlogged roots lead to yellow leaves and poor growth, so prioritize amendments that mimic the well-draining, slightly acidic conditions of their native habitats.
A simple percolation test (dig a hole, fill with water, and time how long it drains) can reveal if adjustments are needed.
Once your soil is prepped, focus on mulching to lock in moisture and suppress weeds. Use pine bark mulch—it’s slightly acidic and breaks down slowly. Avoid piling mulch against the stem to prevent rot.
After planting, water deeply to settle the soil and encourage root contact with amendments. Hydrangeas in Zone 7 benefit from consistent moisture, especially during the first 6–8 weeks of establishment.
For long-term success, monitor your hydrangeas’ foliage color—yellowing leaves often signal pH imbalance or nutrient deficiency. Adjust soil amendments as needed, and remember: patience pays off. With the right soil prep, your hydrangeas will reward you with lush growth and show-stopping blooms year after year. 🌸