
Plants
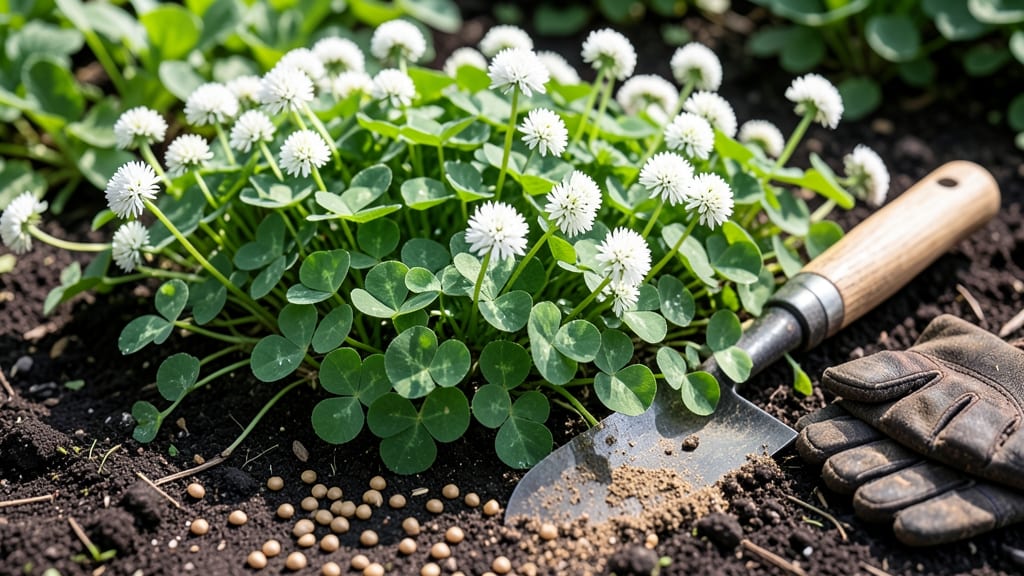
Planting clover in Indiana at the right time ensures a thick, vibrant ground cover that thrives in USDA Zone 6a—but timing is everything, especially with Indiana’s fickle spring weather.
If you’ve ever rushed to plant clover only to watch it wither under late frost or struggle to take root in scorching summer heat, you know how critical the window is.
The key is planting 4-6 weeks before your last frost date (typically mid-April) or in early fall for a head start next spring.
Whether you’re sowing red clover for pollinators, white clover for lawns, or alsike clover as a cover crop, the soil and timing make all the difference.
Below, I’ll walk you through Indiana’s frost-free zones, soil prep secrets, and the best months to plant for each type of clover—so you can skip the guesswork and get results.
From testing your soil’s pH to adjusting for microclimates, these Indiana-specific tips will help your clover establish fast and stay lush all season long. Let’s get started.
Indiana clover planting calendar: frost-free windows by region
Timing your clover planting in Indiana depends heavily on your USDA hardiness zone and frost-free dates. Northern Indiana (Zone 5) faces later springs, while Southern Indiana (Zone 6) enjoys earlier planting windows. Understanding these regional differences ensures healthy clover establishment within 4-6 weeks.
For white clover, red clover, and crimson clover, the ideal planting window is after the last frost date in spring or early fall. However, Indiana's microclimates mean your exact timing may vary by 1-2 weeks from the averages below.
Use your local weather station data to adjust these dates. For example, if your area had an early spring, you might plant white clover in early March instead of waiting for mid-April.
Here’s a region-specific breakdown of frost-free windows and optimal planting months for Indiana’s three main areas:
If you’re planting red clover for soil improvement, aim for early spring to maximize its nitrogen-fixing benefits before summer heat sets in. White clover, often used in lawn mixes, thrives when planted in late spring to avoid frost damage.
For fall planting, focus on early September to allow roots to establish before winter. This strategy works especially well for crimson clover, which blooms early in spring and attracts pollinators.
Check your local Indiana State Climate Office for 10-year frost averages in your county. For example, Gary in Northern Indiana may have frost until May 5, while Evansville in Southern Indiana often sees frost-free conditions by April 10.
Adjust your planting schedule if you notice unusual weather patterns. For instance, if your area had a late frost in April, delay planting until May 1 to avoid seedling damage. Use a row cover if you must plant early.
Remember, soil temperature matters just as much as air temperature. Clover seeds germinate best in soil that’s at least 50°F (10°C). Use a soil thermometer to confirm readiness before planting.
For pollinator gardens, prioritize crimson clover in Southern Indiana, where it blooms earliest. In Northern Indiana, white clover provides longer bloom times and better cold tolerance.
Soil preparation checklist for clover success in Indiana
Clover thrives in well-aerated, nutrient-rich soil with the right pH balance, but Indiana’s clay-heavy soils often need adjustments. Without proper prep, your seedlings may struggle to establish, leaving you with patchy growth instead of that lush green carpet.
Let’s break down the essential steps to create the perfect foundation for your clover.
First, you’ll need to test your soil’s pH level—clover prefers a range of 6.0 to 7.0. If your soil is too acidic (below 6.0), add lime to raise the pH, while sulfur can lower it if it’s too alkaline.
Many Indiana soils naturally lean acidic, so lime is often the go-to amendment. Grab a soil test kit from your local garden center for precise results.
Organic matter is another critical factor. Aim for at least 2-3% organic content to improve soil structure and moisture retention. Work in compost or well-rotted manure 4-6 inches deep before planting. This not only feeds your clover but also encourages beneficial microbial activity that boosts seedling vigor.
- 🔍 Step 1: Test Soil pH – Use a kit to check if your soil is 6.0-7.0. Adjust with lime or sulfur if needed.
- 🌱 Step 2: Till or Loosen Soil – Break up compacted areas to 12 inches deep for better root penetration.
- 🪴 Step 3: Add Organic Matter – Mix in 2-3 inches of compost or aged manure to enrich the soil.
- 💧 Step 4: Level the Bed – Rake the surface smooth to ensure even seed-to-soil contact.
- ✂️ Step 5: Remove Weeds – Clear existing weeds or grass to reduce competition for nutrients.
Don’t overlook drainage, especially in low-lying areas where water pools after rain. Clover roots need oxygen, and soggy soil can lead to root rot or fungal diseases. If your yard has drainage issues, consider mounding the soil slightly or amending it with sand or perlite to improve airflow.
A quick test: Dig a small hole, fill it with water, and time how long it takes to drain—ideal drainage should take less than 2 hours.
Finally, avoid fresh manure or chemical fertilizers right before planting, as they can burn delicate clover seedlings. Instead, opt for a balanced organic fertilizer like 5-10-10 at planting time, applied lightly and worked into the top inch of soil. This gives your clover a gentle nutrient boost without overwhelming it.
With these steps, your clover will have the perfect growing conditions to establish quickly and thrive throughout Indiana’s growing season. Proper soil prep isn’t just about planting—it’s about setting your clover up for long-term success. Happy gardening! 🌿